Electronics prototyping in the United States has evolved rapidly over the last two decades, largely due to readily available components that enable experimentation without soldering. Jumper wires are at the core of this shift, acting as the essential connectors for DIY circuits, educational robotics, and prototypes. They bridge the gap between a circuit diagram and a working device, allowing enthusiasts and students to test ideas quickly and flexibly.

What Are Jumper Wires?
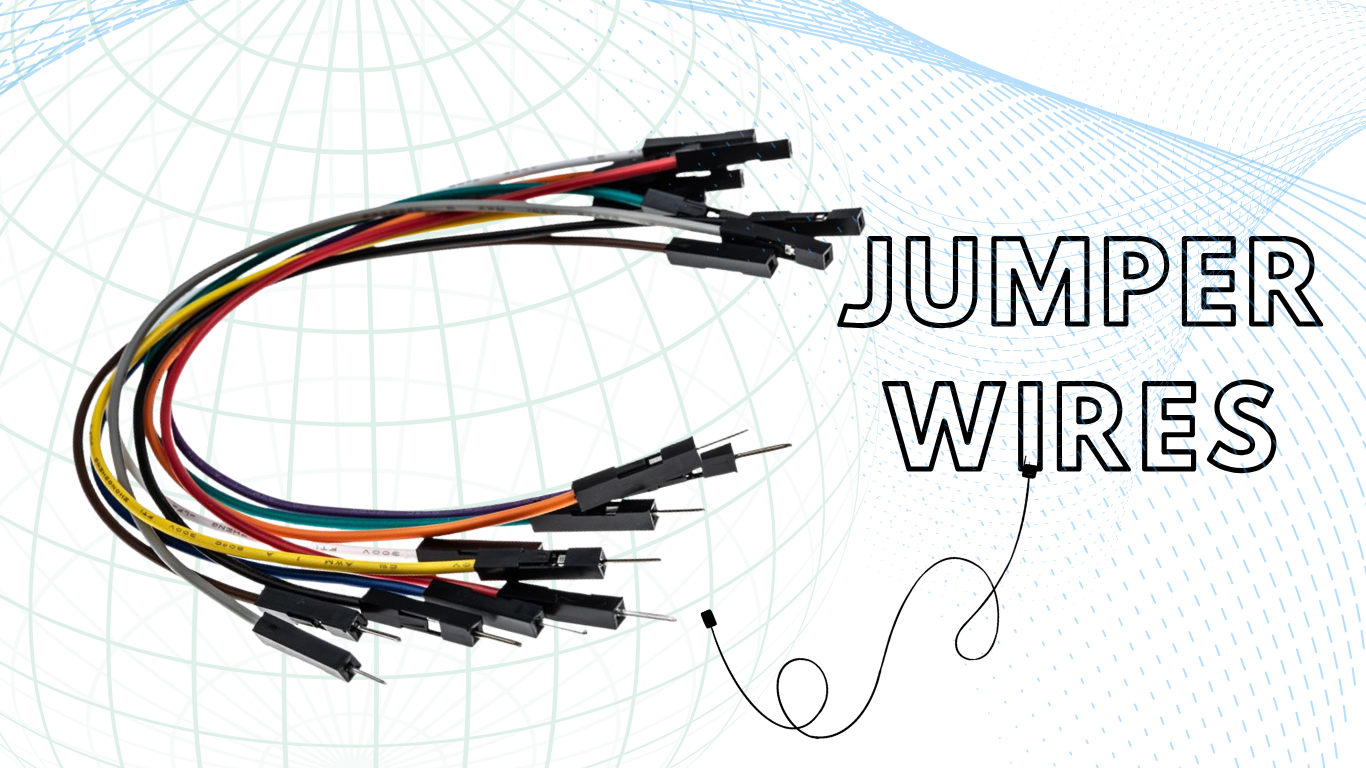
In the simplest terms, jumper wires are electrical leads with connector pins or terminals at each end. They facilitate the temporary connection of two points in a circuit, such as linking a microcontroller to a sensor or connecting components on a breadboard. Unlike permanent wiring found in household appliances or finalized consumer electronics, jumper wires are designed for reusability. They allow users to plug and unplug connections at will, making them indispensable for the iterative prototyping process.
The importance of these wires in modern electronics cannot be overstated. In an era where the United States DIY home improvement market is forecasted to grow by USD 54.83 billion through 2029, a significant portion of this growth is driven by smart home integration and personalized electronics projects. For a beginner, the ability to modify a circuit without risking heat damage from a soldering iron is the primary benefit. This “solderless” superpower turns electronics from a high-stakes engineering task into a playful, creative process similar to building with modular blocks.
Jumper wires are essential in environments focused on hands-on learning and fast prototyping. American middle and high school STEM programs rely on them to demonstrate electrical connections, while hobbyists use them to bring code-driven devices to life, test sensor integrations, and build functioning circuits at home or in the lab.
Standard Technical Specifications
To ensure compatibility across the global electronics ecosystem, jumper wires follow standardized physical and electrical specifications. Most hobbyist-grade wires use the American Wire Gauge (AWG) system to define thickness, a critical factor in determining how much current a wire can safely carry.
| Conductor Material | Annealed Solid Copper | High conductivity and flexibility |
| Coating | Pure Tin | Prevents oxidation and aids connection |
| Wire Gauge | 22 AWG to 28 AWG | 22 AWG is standard for breadboards |
| Insulation | Fire-resistive PVC | Safety and color-coding |
| Nominal Diameter | 0.6 mm (for 22 AWG) | Perfect fit for 0.1″ pitch headers |
| Temp. Tolerance | 0°C to 80°C | Safe for most indoor prototyping |
Types of Jumper Wires You Should Know
Understanding the different varieties of jumper wires is essential for choosing the right tool for a specific project. Jumper wire ends are typically categorized by their “gender”: a “male” end has a protruding metal pin that fits into a socket, while a “female” end has a hollow socket that accepts a pin.
Male-to-Male Jumper Wires
The male-to-male (M-M) jumper wire is the most common type in the Maker community. With solid pins at both ends, they insert into breadboard contacts or Arduino Uno female headers. Breadboards are the standard for temporary circuits, so M-M jumpers make nearly all on-board connections. They act as workhorses in prototyping, bridging power rails and component rows.
Male-to-Female Jumper Wires
Male-to-female (M-F) jumper wires have a pin at one end and a socket at the other. They are ideal for connecting sensors or modules with male pins to breadboards, making it easier to connect off-board components such as distance sensors or motor drivers.
Female-to-Female Jumper Wires
Female-to-female (F-F) jumper wires feature sockets at both ends. These are less common for breadboard work, but invaluable for making direct connections between two devices with male pins. For example, if an engineer needs to connect a standalone sensor module directly to the GPIO pins of a Raspberry Pi or an Arduino Nano, F-F jumpers provide the simplest solution. They effectively eliminate the need for a breadboard entirely in very small or permanent projects where space is at a premium.
Solid Core vs. Stranded Core
Beyond gender, the wire’s internal structure directly determines its best use. Solid-core wires hold their shape and are best for breadboards, where staying flush keeps circuits organized. Stranded core wires, made of multiple filaments, are flexible and much more durable with movement, so they are preferred for robotics or moving projects like a robotic arm or walking robot.
Breadboard Jumper Wires Explained
The term “breadboard jumper wire” specifically refers to wires optimized for use with solderless breadboards. These tools have a distinct internal anatomy that determines how the wires must be used.
The Anatomy of the Connection
A breadboard is essentially a plastic block filled with hidden metal strips. These strips are arranged in rows and columns, typically with a standard pitch of 0.1 inches (2.54 mm), the distance between holes. When a male jumper wire is pushed into a hole, it is gripped by a tiny metal spring clip that holds it securely in place. This clip ensures a reliable electrical connection and allows multiple wires or components in the same row to share current.
- Terminal Strips: These are the central areas on a breadboard where components such as resistors (which limit the flow of electric current) and LEDs (light-emitting diodes) are mounted. In these sections, the holes are connected horizontally in rows of five, allowing components to share electrical signals.
- Power Rails: These are the long vertical columns running along the sides of the breadboard, usually marked with red (+) and blue (-) lines. They are used to distribute electrical power throughout the board, with each column typically carrying either the positive or negative voltage supplied to the circuit.
- The Ravine: A central gap or crevasse separates the two sides of the breadboard. This gap is specifically sized for integrated circuits (ICs)—electronic chips in plastic casings—allowing their pins on opposite sides to remain electrically isolated from each other.
Why They’re Perfect for Beginners
Breadboard jumpers are ideal for rapid prototyping and correcting beginner mistakes. Wires can be quickly moved if misplaced, avoiding the risk of permanent damage common in soldering. Pre-cut color-coded wires of different lengths also make it easy to plan and visualize circuits, ensuring a neat workspace.
Common Mistakes to Avoid
Even with the simplicity of breadboards, there are technical pitfalls that can lead to frustration or damaged hardware.
- Shorting Across the Ravine: One of the most common errors is placing both ends of a jumper wire or both legs of a component in the same row on one side of the ravine. This creates a short circuit because the internal metal strip connects them.
- Bridging Power Rails: Accidentally connecting the positive rail to the negative rail with a jumper wire will cause a short circuit, potentially leading to smoke or a drained battery.
- Loose Pins: If a wire is too thin (e.g., 28 AWG or higher), it may not make firm contact with the breadboard’s internal clips, leading to intermittent failures that are difficult to diagnose.
Arduino Jumper Wires: A Must-Have Tool
Arduino jumper wires are vital in making quick, reliable connections between an Arduino board and external components. Their main role is to bridge the program’s logic and the physical hardware, enabling both students and hobbyists to rapidly prototype interactive electronics.
The Role of Jumpers in the Arduino Ecosystem
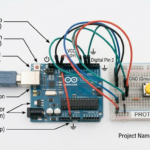
The Arduino Uno, the most popular board for beginners, features several female headers. To connect this board to external components, jumper wires are required. They carry signals from the Arduino’s digital or analog pins to the breadboard, where components such as LEDs, sensors, and motors are ready to respond.
For example, in a simple “LED Blink” project, the electronics version of a “Hello World” program, a jumper wire connects a digital pin on the Arduino to a resistor on the breadboard, which then connects to an LED. Without these wires, the Arduino would be a “brain” with no way to interact with its “body.”
Examples of Real-World Projects
The versatility of jumper wires is best seen in the variety of projects popular in US middle schools and hobbyist circles:
- Light-Activated Alarms: Using jumper wires to connect a photoresistor (light sensor) to the Arduino, allowing the board to trigger a buzzer when a room goes dark.
- Soil Moisture Monitors: Connecting moisture sensors to an Arduino to remind home gardeners to water their plants is a popular project for environmental science classes.
- Ultrasonic Radar: Using M-F jumpers to connect a distance sensor to a servo motor, creating a scanning radar that can detect objects in a room.
| LED / Resistor | Male-to-Male | Plugs directly into Arduino and Breadboard |
| Ultrasonic Sensor | Male-to-Female | Connects sensor pins to breadboard rows |
| Servo Motor | Male-to-Female | Links motor wires to Arduino headers |
| External Module | Female-to-Female | Direct connection without a breadboard |
Understanding Arduino Socket Cable and Connections
While the terms are often used interchangeably, there is a technical distinction between a standard jumper wire and an “Arduino socket cable.”
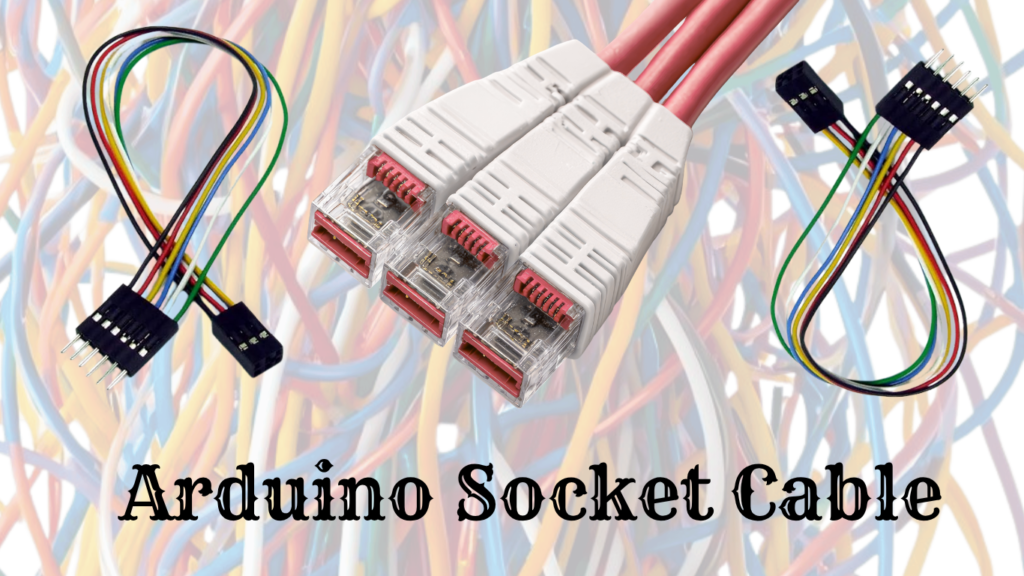
What is an Arduino Socket Cable?
An Arduino socket cable, often called a DuPont cable, is a flexible ribbon of wires with square plastic housings at the ends. Inside these housings are crimped metal terminals (either male pins that plug into sockets or female sockets that accept pins). These are typically made of stranded wire, meaning each wire consists of multiple thin strands twisted together, which makes them much more flexible than the stiff, solid-core jumpers used for flush breadboarding (creating electronic circuits on a reusable board without soldering).
Difference Between Jumper Wires and Socket Cables
The main difference lies in application and structure. “Jumper wires” often refer to the stiff, pre-formed solid wires that sit flat on a breadboard. “Socket cables” refer to the longer, dangling wires used to connect a board to a sensor several inches away.
- When to use standard jumpers: Use these for internal breadboard connections to keep the circuit neat and flat. This makes it easier to see the circuit layout and troubleshoot errors.
- When to use socket cables: Use these to connect the main microcontroller to external sensors, screens, or buttons that are mounted on a chassis or held in the hand.
How to Use Jumper Wires (Step-by-Step Guide)
Using jumper wires effectively requires a mix of technical knowledge and manual dexterity. Following a standardized process reduces the likelihood of “ghost” errors caused by poor connections.
Step 1: Identify the Type of Wire
Before starting, the user must match the gender of the wire to the components being used. If connecting an Arduino header (female) to a breadboard (female), an M-M jumper is the only logical choice. For a sensor with male pins, an M-F or F-F wire will be needed, depending on whether a breadboard is involved.
Step 2: Connect to Breadboard or Arduino
Insert the pin firmly into the desired hole. A proper connection should feel “snug.” If the pin slides in too easily or feels wobbly, the internal spring clip of the breadboard might be damaged, or the wire might be too thin. For Arduino headers, push the pin down until the plastic housing of the jumper wire is nearly flush with the header.
Step 3: Ensure Proper Placement
Double-check the row and column. In electronics, being off by just one hole can mean the difference between a working project and a dead short. Use the color-coding to your advantage: always use red wires for power and black wires for ground to make mistakes visually obvious.
Step 4: Test Your Circuit
Once the connections are made, power on the device. If it doesn’t work, the first step is to “wiggle” the jumper wires. If the circuit flickers or intermittently works, you have a loose connection—the most common bug in solderless prototyping. A multimeter can be used to check for continuity, ensuring that electricity is actually flowing through the jumper from point A to point B.
Common Uses of Jumper Wires in Real Projects
The impact of jumper wires extends far beyond simple hobbyist blinking lights. They are a foundational tool for innovation across several US sectors.
DIY Electronics Projects in US Homes
The rise of the “Smart Home” has led many Americans to build their own custom solutions. Using jumper wires, DIYers create automated window blinds, custom security systems with motion sensors, and smart irrigation systems. The ability to prototype these systems quickly using jumper wires and an Arduino allows homeowners to test ideas before committing to a permanent, professionally installed solution.
Robotics Kits for Students
In the US education system, robotics is a primary driver of STEM engagement. Kits like the mBot or Lego Mindstorms (often modified with Arduino components) rely on jumper wires to connect complex arrays of motors and sensors. These kits help students transition from abstract coding to physical engineering, with jumper wires providing the necessary physical feedback loop.
STEM Education and Degree Production
The US government has identified a critical need for STEM graduates and aims to award over a million additional degrees by 2030 to meet workforce demands. Prototyping tools, including jumper wires, play a subtle but vital role in this goal. By making electronics accessible and fun at a young age, these simple components help retain students in engineering paths that might otherwise seem too intimidating or dry.
Repair and Testing Work
Professional technicians often use jumper wires as diagnostic tools. If a switch on a piece of machinery is suspected to be faulty, a technician can use a jumper wire to “bypass” the switch and see if the machine operates. This allows rapid troubleshooting without disassembling the entire device or making permanent modifications.
Benefits of Using Jumper Wires
The reason jumper wires are the first item in any electronics starter kit is that they offer a unique combination of speed, safety, and flexibility.
- Ease of Use: There is no learning curve. If you can plug a lamp into a wall socket, you can use a jumper wire. This makes electronics accessible to children as young as middle school age.
- Reusable and Flexible: Unlike a printed circuit board (PCB), a breadboard circuit can be dismantled and rebuilt a thousand times. A single set of jumper wires can last a hobbyist for years of different projects.
- No Soldering Required: This is perhaps the biggest benefit for beginners. Soldering involves high heat, lead-based solder, and permanent joints. Jumper wires allow for a “non-destructive” way to learn.
- Cost-Effective: Jumper wires are incredibly inexpensive. Assorted packs of 60 to 100 wires can often be purchased for under $10, making them a low-risk investment for students and hobbyists.
Common Problems and How to Fix Them
Even the simplest tools have their flaws. Understanding the failure points of jumper wires can save hours of troubleshooting.
Loose Connections
This is the “ghost in the machine.” Because jumper wires rely on a physical tension fit, they can sometimes lose contact.
- The Fix: Always press wires firmly into the board. If a specific hole on a breadboard feels “loose,” move your connection to a different row.
Broken Wires
Inside the colorful PVC insulation is a thin copper core. If a wire is bent too many times or pulled on too hard, the copper can snap while the insulation remains intact. This creates a “dead” wire that looks perfectly fine.
- The Fix: Use a multimeter to test for continuity. If the meter doesn’t “beep” when touching both ends of the wire, throw it away.
Wrong Type of Jumper Wire
Beginners often struggle when they have a sensor with female holes but only male-to-male wires.
- The Fix: Always keep a “variety pack” of M-M, M-F, and F-F wires on hand. If you’re in a pinch, you can join two wires together (like an M-M and an M-F) to create a longer cable of the needed gender.
Tips for Choosing the Best Jumper Wires
Not all jumper wires are created equal. When shopping for a project in the USA, consider these quality factors.
Length and Flexibility
A good kit should include a mix of very short wires (for neat on-board connections) and longer 8-inch or 12-inch wires (for connecting to external parts). Stranded-core wires are better for flexibility, while solid-core wires are better for staying in place.
Build Quality
Look for wires with “molded” ends rather than just heat-shrink tubing. Molded ends are more durable and less likely to pull off when you’re trying to disconnect a tight pin.
Color Coding Benefits
While a red wire works the same as a blue one, your brain does not. Following standard color conventions is the single best way to prevent blowing up your expensive Arduino board.
| Red | Positive Power (VCC) | High (can fry chips) |
| Black | Ground (GND) | High (essential for stability) |
| Yellow | Analog Signals | Low (usually just sensor errors) |
| Green | Digital Logic | Low (code won’t work) |
Internal Linking Suggestions
To provide more value to readers, this guide should link to other fundamental resources:
- “Beginner’s Guide to Arduino Projects”: A deep dive into the first five projects every hobbyist should try.
- “How Breadboards Work for Beginners”: A technical look at the internal metal strips and spring clips.
- “Top Arduino Starter Kits in the USA”: A comparison of the best kits for home and classroom use.
External Reference Suggestion
For those looking for academic rigor, we recommend consulting the MIT OpenCourseWare (OCW) guide on Circuits and Electronics. Their “Lab Familiarization” materials provide professional-level insights into lab safety and the physics of temporary connections that every serious hobbyist should read.
Frequently Asked Questions (FAQ)
What are jumper wires used for?
Jumper wires are used to create temporary electrical connections between components, sensors, and microcontrollers like the Arduino without soldering. They are the primary tool for testing and prototyping electronic circuits.
Can I use jumper wires without a breadboard?
Yes! While they are most commonly used with breadboards, Female-to-Female (F-F) or Male-to-Female (M-F) jumper wires can be used to connect sensors directly to the pins of an Arduino or Raspberry Pi.
What is the difference between male and female jumper wires?
The “male” end has a solid metal pin that protrudes and plugs into a hole. A “female” end has a hollow socket that accepts a male pin. Your choice depends on the pins or sockets available on your components.
Are jumper wires reusable?
Absolutely. One of the main benefits of jumper wires is that they can be used, removed, and reused hundreds of times across different projects. This makes them much more sustainable and cost-effective than permanent wiring.
Which jumper wires are best for Arduino?
For most beginners, a mix of 22 AWG Male-to-Male (for breadboard work) and Male-to-Female (for sensors) is ideal. Stranded-core “DuPont” cables are often preferred for their flexibility when connecting the Arduino to off-board components.
Conclusion
Jumper wires may seem like a small, insignificant part of the electronics world, but they are the literal foundation of modern innovation. They enable the “fail fast, learn faster” mentality that defines the Maker movement in the United States. By allowing beginners to experiment without the permanence of solder, these simple wires have democratized engineering, making it accessible to anyone with a curious mind and a few dollars to spend on a starter kit.
Whether you’re building a simple blinking light, a complex home automation system, or a school robotics project, the jumper wire is your best friend. It offers the flexibility to change your mind, the safety to learn from your mistakes, and the reliability to bring your digital ideas into the physical world. If you haven’t started your first electronics project yet, there has never been a better time. Grab an Arduino, a handful of jumper wires, and start building your future today!


Leave a Reply