You are finally ready to begin your project, but you realize you’re missing one vital link: the Arduino socket cable. Maybe you’re building a smart thermostat for your place in Denver, or you’re automating the garage door at your home in Cali. Or, perhaps it’s a last-minute science fair project sitting on the kitchen table that needs to be programmed before morning.
Whatever the case, the right setup is essential. You have your board, your sensors, and you’ve downloaded the Arduino IDE. But then you run into your first problem: Which Arduino socket cable do you actually need? It seems simple isn’t it just a regular USB wire? Not quite. To get your project moving without those annoying “Board Not Found” errors, you need to understand the nuances of data and power delivery.
What Is Arduino?
If you’re new here, you might still be wondering what is Arduino?
Arduino is an open-source electronics platform with microcontroller boards that let you build interactive projects. You can think of it as a small programmable brain.
It reads inputs like:
- Temperature sensors
- Motion detectors
- Buttons
And turns them into outputs like:
- Turning on LEDs
- Running motors
- Sending notifications
Arduino is affordable and easy for beginners, so it’s popular in US classrooms, engineering labs, and home workshops.
But none of this works without the right connection.
Why the Arduino Socket Cable Is More Important Than You Think
Your Arduino socket cable does two critical jobs:
- Supplies power (usually 5V from your computer)
- Transfers data (so you can upload your code)
If either one fails, your project won’t work.
A poor-quality cable can cause:
- Random disconnections
- Failed uploads
- “Board not detected” errors.
- Voltage instability
Many beginners think their board is broken, but often the problem is just a bad cable.
USB A, USB B, Micro What Do These Actually Mean?
When people search for USB-A b USB-B micro, they’re usually confused about the connector shapes. Let’s simplify it.
USB Type-A (The Computer Side)
This is the flat rectangular connector that plugs into your laptop or desktop.
Most computers in the United States still have USB-A ports.
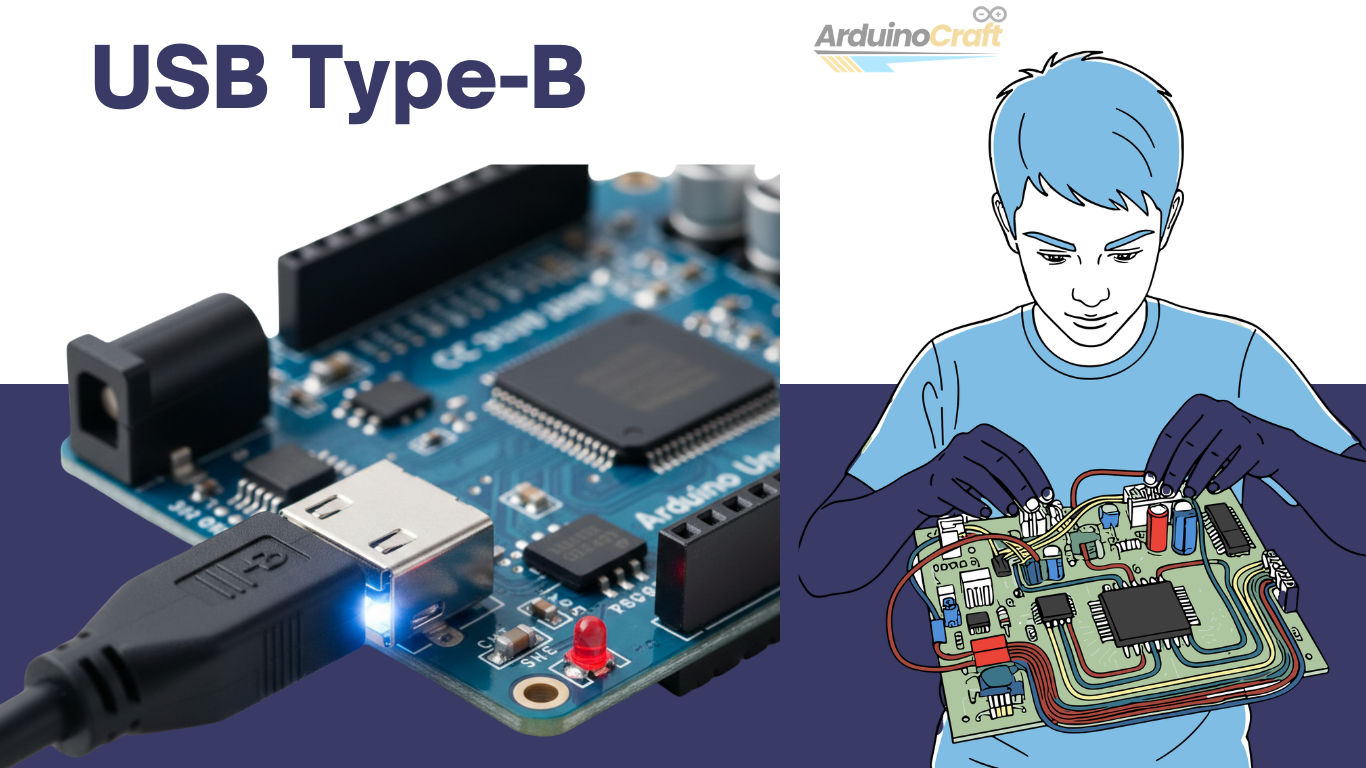
USB Type-B (The Classic Square Connector)
If you own an Arduino Uno or Mega, you likely need this USB cable.
This connector is:
- Square-shaped
- Extremely durable
- Commonly used in classrooms
People sometimes call it a “printer cable” because printers use it as well.
Boards that use this:
- Arduino Uno
- Arduino Mega
It’s a large connector, but it’s very sturdy.
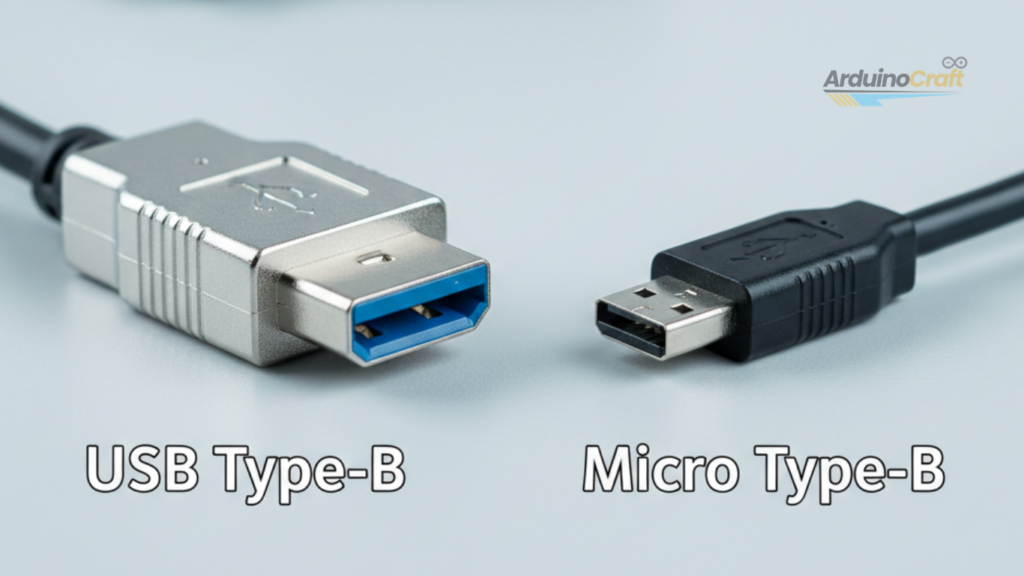
Micro USB (Compact and Common)
Smaller boards like the Nano use a usb cord micro.
This is the same connector many older Android phones used. When you see listings for a cable USB-A micro, it means:
- One end = USB-A (computer)
- Other end = Micro USB (board)
Here’s an important detail:
You may see the terms micro USB-A and micro usb b.
For Arduino boards, you almost always need Micro-USB B. Micro-USB A is rare and not used in most Arduino products.
If your port looks small and slightly angled at the corners, it’s a Micro-B port.
USB-C: The New Standard (Worth Mentioning)
Some newer Arduino models now use USB-C.
USB-C is:
- Reversible
- Faster
- More durable
If your board has a small, oval-shaped port, you’ll need a USB-C cable.
What Makes a High-Quality Arduino Socket Cable?
Not every cable is the same.
When shopping on Amazon, at Micro Center, or in electronics stores, look for:
| Data + Power Support | Must allow code upload |
| Shielding | Prevents signal interference |
| Proper AWG | Supports stable current |
| Durable Connectors | Prevents loose connections |
Many inexpensive cables are “charge-only.” They can power the board but won’t transfer data.
If your Arduino powers on but doesn’t appear in the IDE, the cable is likely the problem.
How the USB Connection Actually Works
When you plug in your Arduino:
- The board receives 5V power.
- The bootloader activates.
- Your operating system assigns a COM port.
- You upload your sketch.
This process only takes a few seconds if your cable supports data transfer.
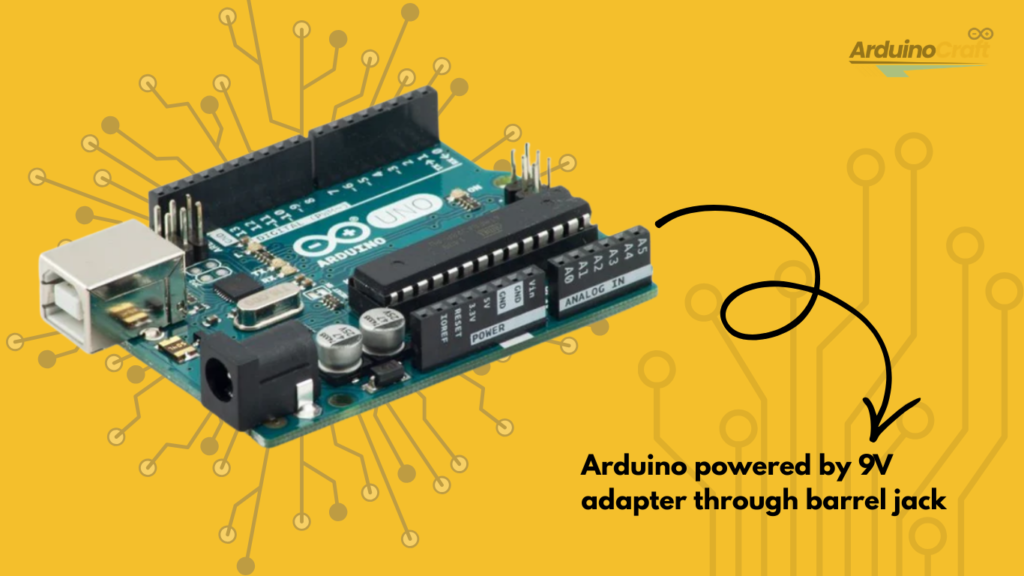
When USB Is Not Enough: Using the Barrel Jack
After you finish your project, you may not want to keep it connected to your laptop.
That’s when you can use a DC barrel jack instead.
Most Arduino boards support:
- 7V–12V input
- 2.1mm center-positive plug
- 9V adapter (very common choice)
Important tip:
Using more than 12V can overheat the voltage regulator.
If you use motors or relays, you’ll often need external power.
Real-World Example (USA Scenario)
Let’s say you’re building a smart mailbox notifier in suburban New Jersey.
During development:
- You use a usb cable usb b connected to your laptop.
After installation:
- You switch to a 9V barrel adapter.
- You mount everything inside a weatherproof box.
You’re using the same board, just with different cable setups.
Planning ahead saves time.
Troubleshooting Checklist (Before You Panic)
If your Arduino isn’t connecting:
✔ Swap the cable
✔ Try a different USB port
✔ Check Device Manager (Windows)
✔ Restart Arduino IDE
✔ Avoid cheap “fast charge” cables
Switching out the micro USB cord or USB-B cable fixes most problems right away.
Wire Gauge and Power Stability
If your project only uses sensors, 22 AWG jumper wires will work well.
If you’re powering motors or higher loads:
- Use 20–22 AWG for power lines.
- Use 18 AWG for motors.
Using thicker wires helps reduce voltage drop.
For users in the US, UL-rated wires are always a safer choice.
Internal Linking Ideas
To help with SEO and keep readers engaged, link to:
- Beginner’s Guide to Arduino IDE
- How to Power Arduino with Batteries
- Best Arduino Starter Kits for 2026
External Authority Reference Idea
You can refer to the official Arduino documentation or engineering resources from well-known US technical institutions to add credibility.
FAQ
1. Can I use any micro USB cable?
Only if it supports data transfer, many cheap ones are power-only.
2. Why does Arduino Uno use USB-B?
USB-B is physically stronger and ideal for learning environments.
3. What happens if I use the wrong voltage?
You can damage the board’s voltage regulator.
4. Is the Arduino Socket Cable different from a normal USB cable?
Not really. It’s just a standard USB cable that supports both data and power.
Final Thoughts: Don’t Overlook the Cable
The Arduino socket cable may not look exciting, but it’s the foundation of your project. Whether you’re using a usb b micro, a cable usb a micro, or a full-size usb cable usb b, the right connection ensures stable uploads and smooth operation. Buy a few good-quality cables and keep them in your toolkit.When you’re troubleshooting late at night and your code won’t upload,you’ll be glad the cable isn’t the problem.

Leave a Reply