
An arduino robot kit landed on my kitchen table three years ago as a birthday gift, and I had no idea what half the parts were for. If you’re staring at a similar box right now, or trying to pick one before you buy, I want to walk you through what I learned the hard way.
My First Arduino Robot Kit (And What Went Wrong)
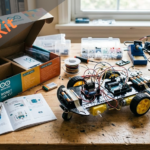
My first kit was an ELEGOO UNO R3 Smart Robot Car Kit. The box looked impressive. Motors, an ultrasonic sensor, a Bluetooth module, a little chassis with four wheels. I dumped everything on the table like a kid on Christmas morning and started wiring without reading a single page of the manual.
Big mistake. I reversed the motor polarity on my first attempt, and the “robot” just spun in a circle like it was chasing its own tail. It took me an embarrassing twenty minutes to realize the wheels on one side were literally wired backward.
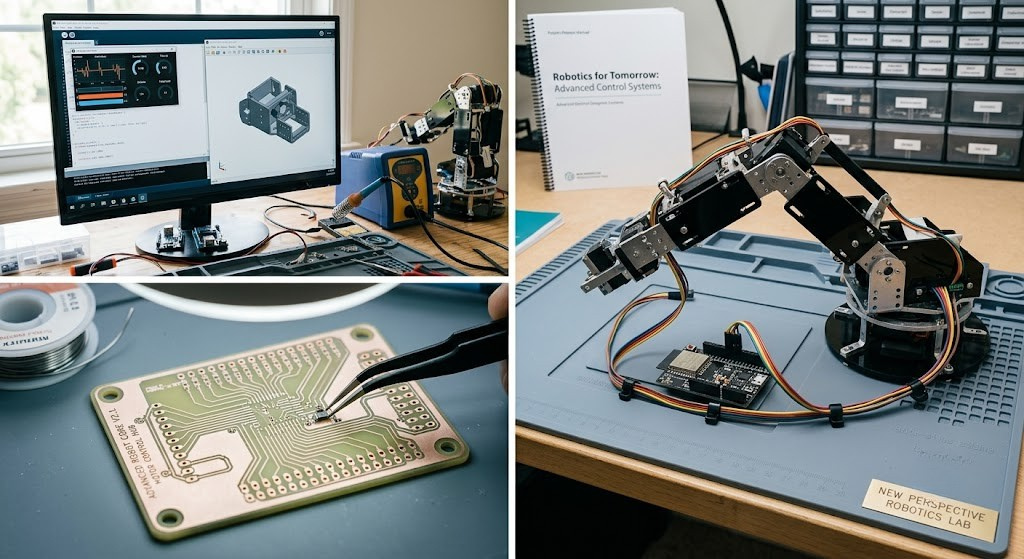
Key takeaway: Read the wiring diagram before you touch a single wire. It sounds obvious, but almost every beginner (myself included) skips this step out of excitement, and it costs way more time than it saves.
Once I fixed the wiring, the little car worked. It followed lines on the floor, backed away from my hand when I waved it in front of the ultrasonic sensor, and honestly felt like magic the first time it worked correctly.
Beginner Mistakes I Made So You Don’t Have To
I already told you about the backward motor wiring. Here are the other ones.
I ran my robot on four AA batteries and wondered why the motors sounded weak and the Bluetooth kept disconnecting. Turns out motors and servos draw way more current than the board itself, and cheap batteries just can’t keep up under load. Rechargeable NiMH packs or a proper battery holder rated for the current draw fixes this fast.
I also skipped a power switch on my second build, which meant unplugging a wire every single time I wanted to stop the thing from running into the wall. A two dollar switch saved me from that headache on every build since.
The last one stings a little. I tried to run a servo motor and three sensors directly off the Arduino’s 5V pin. The board browned out and reset mid program. Motors and servos need their own power source in most builds, not a straight pull from the microcontroller.
Basic Arduino Robot Kit Code Example (Obstacle Avoidance)
Once your robot is wired correctly, the fun part starts. Here’s a simple sketch I actually used on my second build. It reads distance from an ultrasonic sensor and stops the robot before it hits a wall. This is usually the first “real” program people write after the blink an LED tutorial, and it’s a good gut check that your sensors and motors are wired the way you think they are.
cpp
// Basic obstacle avoidance for an Arduino robot kit
// Ultrasonic sensor on trigPin/echoPin, motors on driver pins

const int trigPin = 9;
const int echoPin = 10;
const int motorLeftForward = 5;
const int motorRightForward = 6;
const int stopDistance = 15; // centimeters

void setup() {
  pinMode(trigPin, OUTPUT);
  pinMode(echoPin, INPUT);
  pinMode(motorLeftForward, OUTPUT);
  pinMode(motorRightForward, OUTPUT);
  Serial.begin(9600);
}

long getDistanceCM() {
  digitalWrite(trigPin, LOW);
  delayMicroseconds(2);
  digitalWrite(trigPin, HIGH);
  delayMicroseconds(10);
  digitalWrite(trigPin, LOW);

  long duration = pulseIn(echoPin, HIGH);
  long distance = duration * 0.034 / 2;
  return distance;
}

void driveForward() {
  digitalWrite(motorLeftForward, HIGH);
  digitalWrite(motorRightForward, HIGH);
}

void stopMotors() {
  digitalWrite(motorLeftForward, LOW);
  digitalWrite(motorRightForward, LOW);
}

void loop() {
  long distance = getDistanceCM();
  Serial.println(distance);

  if (distance > stopDistance) {
    driveForward();
  } else {
    stopMotors();
  }

  delay(100);
}
A few notes on this code before you copy and paste it into your own build.
Pin numbers will not match your kit exactly. Check your kit’s wiring diagram for which pins your motor driver and ultrasonic sensor actually use, then update the numbers at the top of the sketch.
This version only stops, it does not turn. Once stopping works, a natural next step is adding a turn function that reverses one motor briefly so the robot backs away and pivots instead of just freezing in place.
The delay(100) matters more than it looks. Ultrasonic sensors need a short pause between readings to avoid false echoes. Removing that delay is a common reason people report a “jittery” or unreliable robot.
What Actually Makes a Good Arduino Robot Kit
Here’s the thing nobody tells you before you buy: not all kits labeled “robot kit” actually teach you robotics. Some are glorified remote control cars with an Arduino sticker slapped on the box.
A genuinely good kit has four things.
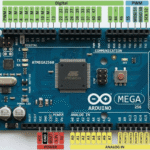
The board. Most kits use an Arduino UNO or a compatible clone. That’s fine for beginners. If you plan to expand later, look for a Mega 2560 based kit instead, since it has far more input and output pins for adding sensors down the road.
The motor setup. DC motors with a gear reduction give you torque, which matters more than speed when your robot is climbing over a rug edge or a door threshold. Servo motors are a different story. Those give you precise angle control, which you need if you ever want to build an arm instead of a car.
The sensors. An ultrasonic sensor for obstacle detection is basically standard now. Line tracking sensors and infrared modules show up in almost every mid range kit too. If a kit skips these, it’s probably a stripped down version meant to look cheaper on a listing page.
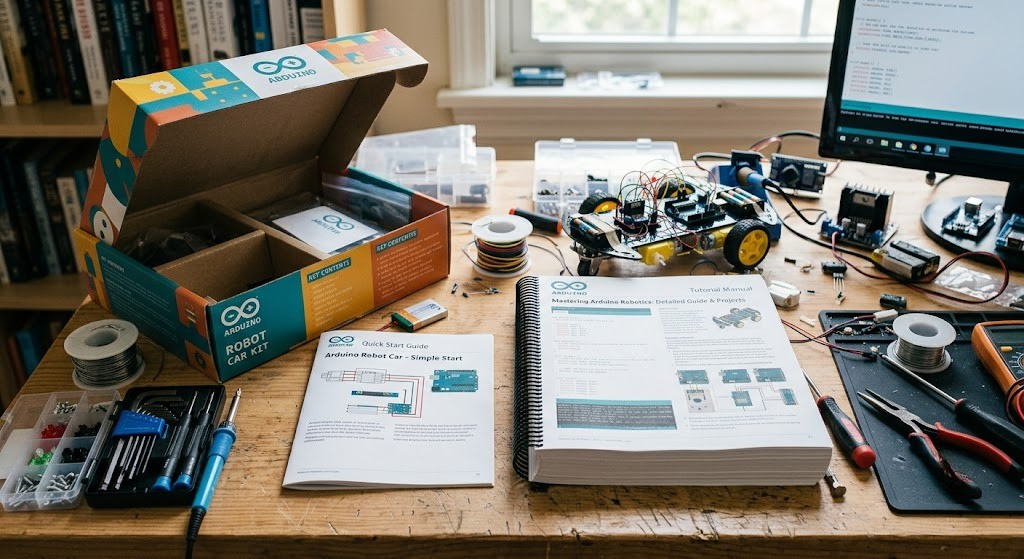
The documentation. This is the part that separates a great kit from a frustrating one. I have opened kits with a photocopied half page manual and kits with a 200 plus page PDF that explains every line of code. Guess which one I actually finished building.
Best Arduino Robot Kits by Skill Level
I’m not going to pretend one kit works for everyone, because it doesn’t. Here’s how I’d break it down based on what I’ve actually built.
If you’ve never touched a breadboard: Start with a UNO based starter kit that includes basic LED and sensor projects before it throws a full robot chassis at you. It sounds slower, but understanding what a resistor actually does will save you from frying components later.
If you want a robot car and nothing else: A four wheel drive kit with line tracking, obstacle avoidance, and Bluetooth control is the sweet spot. This is where most Elegoo and SunFounder kits live, and for good reason. They’re affordable and the community support online is massive, so when something breaks, someone else has already posted the fix.
If you’ve built one robot already and want more: Look at kits built around the Mega 2560 board. The extra pins let you run more sensors at once without constantly unplugging things to test something new.
If you want to build an arm instead of a car: A dedicated robotic arm kit with multiple servos teaches you inverse kinematics basics, which is a completely different skill set than driving a car around. It’s harder, and I’d only recommend it after you’ve finished at least one wheeled robot project.
Beginner Mistakes I Made So You Don’t Have To
I already told you about the backward motor wiring. Here are the other ones.
I ran my robot on four AA batteries and wondered why the motors sounded weak and the Bluetooth kept disconnecting. Turns out motors and servos draw way more current than the board itself, and cheap batteries just can’t keep up under load. Rechargeable NiMH packs or a proper battery holder rated for the current draw fixes this fast.
I also skipped a power switch on my second build, which meant unplugging a wire every single time I wanted to stop the thing from running into the wall. A two dollar switch saved me from that headache on every build since.
The last one stings a little. I tried to run a servo motor and three sensors directly off the Arduino’s 5V pin. The board browned out and reset mid program. Motors and servos need their own power source in most builds, not a straight pull from the microcontroller.
Arduino vs Raspberry Pi vs ESP32 for Robotics
People ask me this constantly, so let’s clear it up. Arduino boards run a single program loop and respond to sensor input within microseconds, which makes them excellent for real time motor control. Raspberry Pi boards run a full operating system, so they’re better suited for computer vision or anything involving a camera feed. ESP32 boards sit in between, adding WiFi and Bluetooth at a lower price than a Pi, which makes them a solid pick if you want to control your robot from a phone app.
For your first robot kit, Arduino is still the right call. The learning curve is gentler, the community is enormous, and almost every tutorial online assumes you’re using one.
Budget Breakdown: What You Actually Spend
The kit price on the box is not your final cost. Here’s what I actually spent across my builds.
The kit itself usually runs somewhere in the range most beginner kits list at, which covers the board, chassis, sensors, and basic wiring.
Rechargeable batteries added a real cost since alkaline batteries die fast under motor load and you’ll burn through a lot of them in the first month.
Replacement parts came up more than I expected. LEDs blow, jumper wires fray, and I snapped a plastic gear on my second build by forcing a stuck wheel.
A basic toolkit, meaning a small screwdriver set and wire strippers, is worth buying if you don’t already have one lying around.
FAQs
What age is appropriate for an Arduino robot kit? Most kits are marketed for ages 10 and up, but a parent or older sibling helping with assembly makes it workable for younger kids too. The coding portion is usually the harder part, not the physical build.
Do I need to know how to code before buying one? No. Most beginner kits include example code you upload and modify, so you learn by tweaking working programs rather than writing from a blank file.
Can I use an Arduino robot kit without soldering? Yes. Nearly all modern beginner and intermediate kits are fully solderless, using screw terminals and pre soldered headers on sensors and boards.
What’s the difference between Arduino UNO and Mega for robotics? The UNO has 14 digital pins and 32KB of flash memory, which is enough for basic sensor and motor projects. The Mega 2560 has 54 digital pins and more memory, which matters once you start stacking multiple sensors, displays, and motors in one build.
How long does it take to build a robot kit? My first build took an entire weekend, mostly because I kept stopping to fix wiring mistakes. A second or third kit usually goes together in two to three hours once you understand the basic pattern.
Final Thoughts
An arduino robot kit is one of the few gifts, for a kid or for yourself, that actually teaches something while staying fun enough that you’ll finish it. Pick a kit that matches where you actually are, not where you wish you were, and read the manual before you touch a wire. Future you will thank present you.
Ready to Build Your First Robot?
Pick a kit that matches your skill level from the guide above, and if you get stuck on a build, drop a comment below with what board you’re using. I check these regularly and I’m happy to help troubleshoot.
[Image suggestion: Finished robot car navigating around an obstacle on a hardwood floor. Alt text: completed arduino robot kit avoiding obstacle during test run]
Disclaimer: This article reflects personal experience and general product information. Always follow the manufacturer’s safety instructions during assembly, and supervise children under 13 when working with small components, batteries, or tools.



Leave a Reply