VSCP (Very Simple Control Protocol) is an open-source automation framework that lets small microcontrollers like Arduino boards send and receive standardized “events” over CAN bus, RS-232, Ethernet, or even MQTT, without one central computer bossing everything around. I ran into it three years ago while trying to get a shed full of sensors to talk to each other, and it solved a problem I didn’t know how to explain until I found the name for it.
What VSCP Actually Is
Picture a bunch of Arduino boards scattered around a house. One watches a door. One reads temperature. One controls a relay for the porch light. Normally you’d write custom code so each one knows exactly who to talk to, which gets messy fast once you pass five or six nodes.
VSCP skips that. Every node just broadcasts an “event” onto the shared bus, something like “button pressed” or “temperature reading: 21.4°C,” and any other node on the network can decide whether that event matters to it. Nobody needs a hardcoded address book. The <cite index=”11-1,11-2″>protocol is described as free and suitable for building or home automation, with each node capable of working completely on its own as part of a larger distributed network</cite>.
That autonomy part is the piece that hooked me. A VSCP node doesn’t need a server to be useful. It can sit there for years making local decisions, and if the network goes down, it keeps doing its job.
Why I Even Tried This on Arduino
I’ll be honest, my first home automation setup was a pile of if-statements and a Raspberry Pi doing all the thinking. It worked until the Pi’s SD card died on a Tuesday and my garage door sensor stopped reporting anything. That single point of failure bugged me for months.
A friend on a forum mentioned VSCP almost in passing, calling it “the CAN bus thing that home automation nerds used before Home Assistant got popular.” That description undersold it, but it got me curious enough to dig into the spec.
How VSCP Works, in Plain English
VSCP is <cite index=”13-1″>an application-level protocol, similar in spirit to how HTML works for browsing the internet, and it can ride on top of CAN, RS-232, Ethernet, TCP/IP, MQTT, or 6LoWPAN as its transport layer</cite>. That transport independence matters more than it sounds. You’re not locked into one type of wiring or one chip family.
Events themselves are organized into classes and types, so “a button was pressed” and “the sun just set” both fit into a predictable structure that any VSCP-aware device can parse. Whether a node should act on an event that reaches it gets decided by something called the decision matrix, a small table on the device itself that says, in effect, “if this event shows up, do this action.”
For Level 1 devices, the ones tiny 8-bit microcontrollers like an Arduino Uno can realistically run, <cite index=”8-1,8-2″>VSCP was primarily built for CAN networks because CAN hardware is cheap, reliable, and efficient</cite>. That’s why almost every Arduino VSCP tutorial you’ll find, including mine, leans on a CAN-BUS shield.
Setting Up VSCP on an Arduino Board
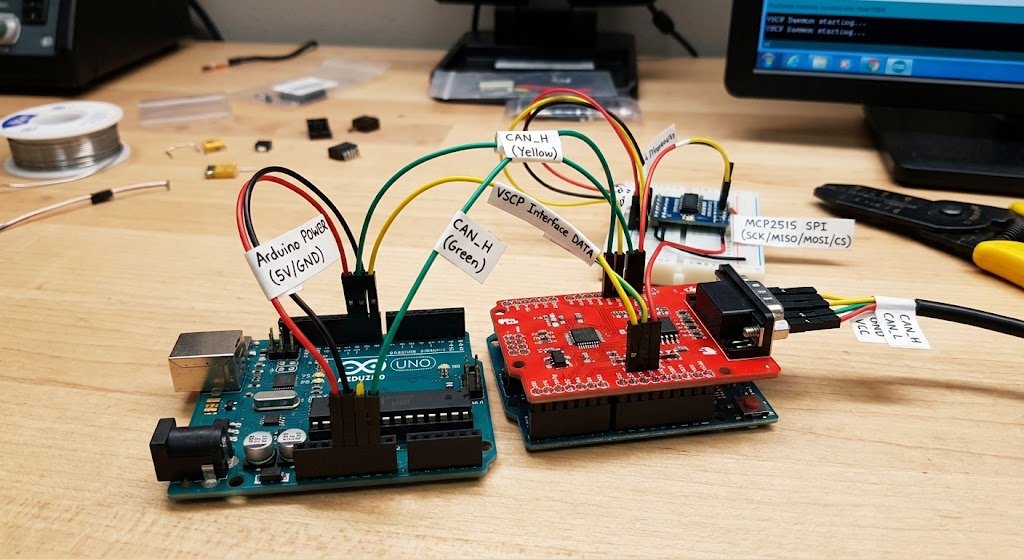
Here’s the setup I actually used, stripped down to what matters:
- Board: Arduino Uno (any AVR board works, the library is architecture-agnostic)
- Shield: Seeed-Studio CAN-BUS Shield
- Library: the VSCP Level 1 Arduino library, installable straight from the Arduino Library Manager
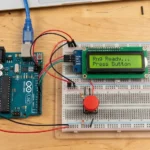
- A push button: required, because VSCP uses it to trigger node nickname discovery when the device first joins the bus
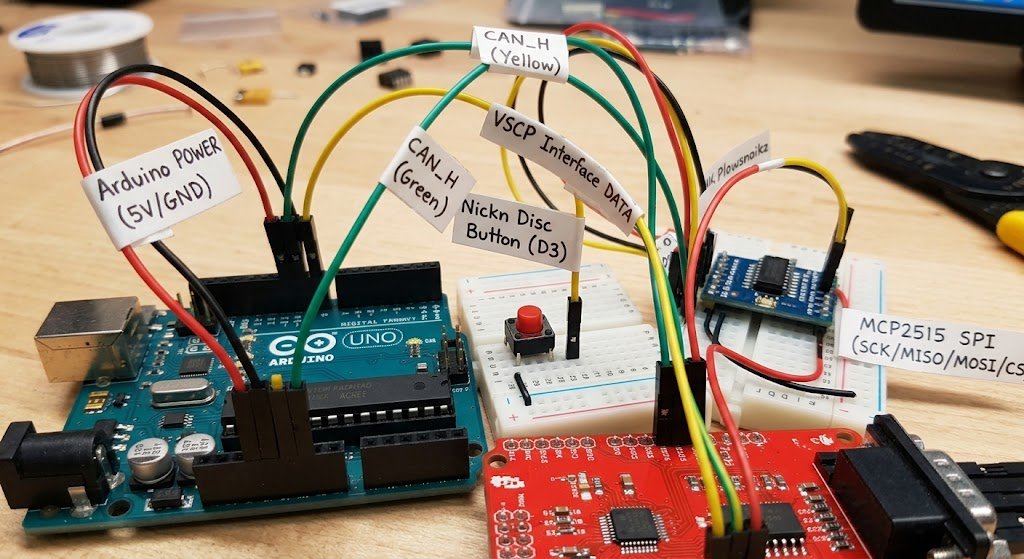
Installation is genuinely painless. Open the Library Manager, search VSCP, install, and the examples folder gives you a generic sketch plus dedicated ones for both the Seeed-Studio and Sparkfun CAN shields. I started with the generic example, then swapped in shield-specific pins once I confirmed the board was even talking on the bus.
One thing that tripped me up: if you’re using a bare CAN terminal instead of the sub-D connector, don’t skip wiring the ground line. It can appear to work over a short cable run and then fall apart the moment you add a second node farther down the bus.
A Real Code Example {#code-example}
This is close to what I run on a node that reports “information on” events, adapted from the library’s own documented pattern:
cpp
#include <vscp.h>
#include <vscp_class_l1.h>
#include <vscp_type_information.h>

VSCP vscp;
vscp_TxMessage txMsg;

void setup() {
  vscp.setup(); // initializes the node, LED, and button pin
}

void loop() {
  vscp.run();

  if (motionDetected()) {
    vscp.prepareTxMessage(txMsg, VSCP_CLASS_L1_INFORMATION,
                           VSCP_TYPE_INFORMATION_ON, VSCP_PRIORITY_3_NORMAL);
    txMsg.data[0] = 1; // index
    txMsg.data[1] = 0; // zone
    txMsg.data[2] = 0; // sub zone
    txMsg.dataSize = 3;
    vscp.write(txMsg);
  }
}
If raw byte assignment feels fragile, the library also ships abstract event functions that hide the data array entirely. You just call something like vscp_information_sendOnEvent(1, 0, 0) and it builds the correct message for you. I switched to the abstract calls after a late-night debugging session where I’d set the wrong data size and spent an hour wondering why my receiving node ignored every event.
Mistakes I Made (So You Don’t Have To)
Key takeaway: VSCP rewards patience during the wiring stage and punishes shortcuts almost immediately. Get the CAN termination and ground wiring right before you touch a single line of code.
A few honest ones:
- I forgot 120-ohm termination resistors on both ends of my CAN bus, and my nodes would randomly drop events under load.
- I assumed the decision matrix was optional for a two-node test setup. It’s not, unless you want every node reacting to every event regardless of relevance.
- I underestimated how much the beginner-friendly examples assume you already know what a “nickname” is in VSCP terms. It’s just the node’s address on the bus, assigned automatically during discovery, not something you hardcode.
If you’re bringing over Arduino experience from projects on www.arduinocrafte.com, most of the wiring instincts carry over fine. The mental shift is thinking in events and zones instead of direct pin-to-pin logic.
Is VSCP Worth It Compared to MQTT?
People ask me this constantly, so here’s my honest take. MQTT is simpler to start with if you already have Wi-Fi and a broker running. VSCP shines when you want devices that keep functioning without any broker at all, or when you’re working over CAN bus in a car, boat, or industrial setup where Wi-Fi isn’t practical.
I wouldn’t recommend VSCP for a weekend project with three sensors and a phone app. I would recommend it for a permanent installation where reliability matters more than convenience, like a workshop, a barn, or a multi-room automation system you don’t want to babysit.
FAQs
Is VSCP still maintained? Yes. The Arduino library and the core framework both see active updates, with recent framework releases continuing into 2024 and beyond.
Does VSCP require CAN bus hardware? No. CAN is the most common transport for Level 1 devices because it’s cheap and dependable, but the protocol also runs over RS-232, RS-485, Ethernet, and MQTT.
Can a beginner realistically use VSCP on Arduino? Yes, if you’re comfortable wiring a shield and reading example code. The trickier part is understanding events and decision matrices, not the electronics.
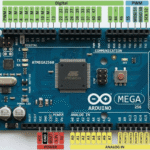
What boards support the VSCP Arduino library? The library works across Arduino architectures, so an Uno, Mega, or Nano can all run it with the right shield.
Conclusion
VSCP won’t replace your Wi-Fi smart plugs, and it isn’t trying to. What it offers is something a lot of quick automation projects skip past: devices that keep working when the network hiccups. For anyone who has watched a whole smart home setup go dark because one hub rebooted, that independence is worth the extra learning curve.
CTA: If you’re setting up your first CAN bus node, start with the generic example sketch, get one node talking to itself on the bench, then add a second. Trying to debug a three-node network on day one is how most people give up on VSCP too early.
Disclaimer: This article reflects one hobbyist’s personal experience with VSCP on Arduino hardware and is intended for general informational purposes. Always follow the official VSCP documentation and your CAN shield’s wiring guide before working with live electronics.



Leave a Reply