The Internet of Things is exploding – globally, over 21 billion IoT devices are expected by 2025. In the US alone, the IoT market is valued at $413.22 billion in 2024 and growing fast. With so many connected devices, reliable networking is critical. For many Arduino-based projects, using wired Ethernet gives better speed, stability, and security than Wi-Fi. The arduino_event_eth feature (often tied to ESP32-based Arduinos) makes it easy to handle Ethernet events in your code. In this article, we explain what arduino_event_eth is, why Ethernet matters for IoT, and 5 expert tips to master event-driven Ethernet on Arduino. Let’s dive in!
What is arduino_event_eth?
The term arduino_event_eth refers to the Ethernet event handlers in the Arduino-ESP32 core. On ESP32-based boards (like Olimex ESP32-EVB, LILYGO POE, etc.), arduino_event_eth constants (e.g. ARDUINO_EVENT_ETH_START, ARDUINO_EVENT_ETH_CONNECTED, ARDUINO_EVENT_ETH_GOT_IP, etc.) are triggered during the Ethernet interface’s lifecycle. In your code, you register a callback with WiFi.onEvent(), and then the function is called with these events. For example, the official Arduino-ESP32 docs show using:
cppCopyvoid WiFiEvent(WiFiEvent_t event) {
  switch (event) {
    case ARDUINO_EVENT_ETH_START:
      Serial.println("ETH Started");
      ETH.setHostname("esp32-ethernet");  // set hostname before DHCP
      break;
    case ARDUINO_EVENT_ETH_CONNECTED:
      Serial.println("ETH Connected");
      break;
    // ... handle GOT_IP, DISCONNECTED, etc.
  }
}
This lets your code react immediately when Ethernet starts, connects, or gets an IP. Note: spell it correctly as Arduino_event_eth – some people accidentally write “aurdino_event_eth” (Arduino is often misspelled “Aurdino”). The key is that ARDUINO_EVENT_ETH_ events come from the Arduino framework’s WiFi library. (If you see SYSTEM_EVENT_ETH names, those belong to ESP-IDF’s system events, not Arduino’s – use the ARDUINO_EVENT versions.)
By handling these Ethernet events in your sketch, you can run code right when the network comes up or goes down. For instance, you might set your device hostname in ETH_START, flag a “connected” boolean on ETH_GOT_IP, and react to disconnections later. The example above prints messages for Started, Connected, Got IP and Disconnected states. In short, arduino_event_eth is the Arduino way to write event-driven Ethernet code on ESP32 boards, making IoT projects more responsive and robust.
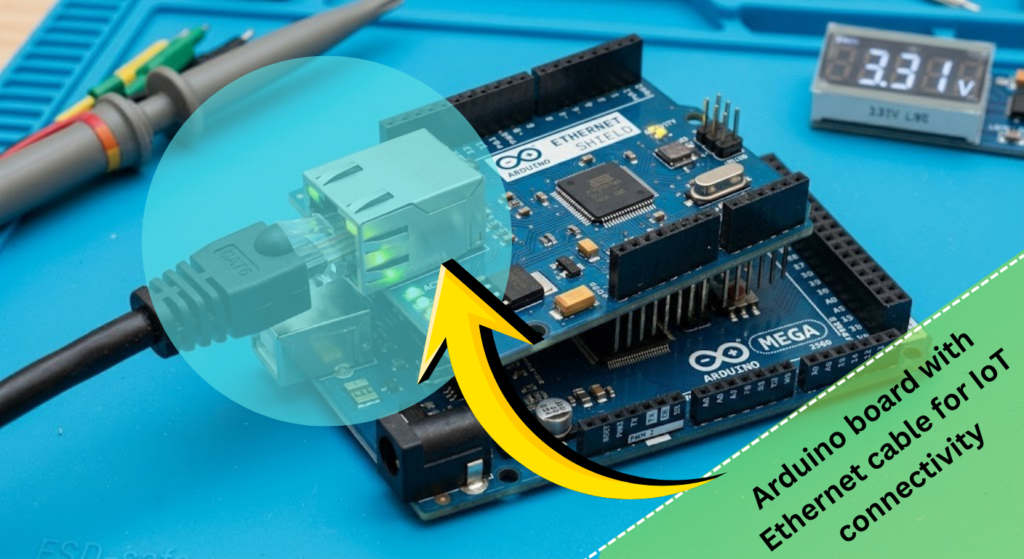
Why Use Ethernet with Arduino?
Using Ethernet (wired LAN) instead of Wi-Fi can be a game-changer for IoT projects. Wired connections offer higher reliability and security. For example, as one industry source notes: “Wired connections offer enhanced security compared to their wireless counterparts… with a reduced risk of hacking and fewer signal disruptions”. This means sensitive data (think home security cams, industrial sensors, medical IoT) is less likely to be intercepted. Moreover, Ethernet provides stable, high-speed links. It enables “quick communication between devices… boosting productivity and minimizing downtime”.
Especially in industrial or smart city contexts (big in the USA), Ethernet is common. The number of connected devices using wired standards (Ethernet, field buses, etc.) is growing alongside Wi-Fi and cellular. In practice, many American companies use Ethernet for critical IoT infrastructure: factories, office networks, smart buildings, etc. A reliable Ethernet connection means your Arduino sensor or controller can send data smoothly to the cloud or local servers.
Key Benefits of Ethernet in IoT:
- Reliability: Stable link with less interference than Wi-Fi.
- Security: Harder to hack or eavesdrop compared to open wireless signals.
- Power over Ethernet (PoE): Many boards (ESP32-EVB, etc.) support PoE, powering the device and data through one cable.
- Speed: Gigabit or 100 Mbps speeds outshine typical IoT radios.
- Predictability: Consistent latency for real-time applications (automation, control).
Setting Up Arduino Ethernet Events
To use arduino_event_eth, you typically need an ESP32-based board with an Ethernet PHY (like LAN8720, TLK110 chips, etc.). The Arduino-ESP32 core provides <ETH.h> library for Ethernet. Key setup steps include:
- Configure the PHY before
#include <ETH.h>: Set parameters likeETH_PHY_TYPE,ETH_PHY_ADDR, and clock mode before including ETH.h. For example, using a LAN8720 PHY you might#define ETH_PHY_TYPE ETH_PHY_LAN8720first. (This must be done prior toETH.begin()or ETH initialization.) - Register the event handler: In your
setup(), callWiFi.onEvent(yourEventHandler);. This tells Arduino to call your function when Ethernet events occur. Remember: WiFi.onEvent runs in a separate FreeRTOS task, so keep the handler lightweight (avoiddelay()inside it). - Start Ethernet interface: After initializing serial, call
ETH.begin();in setup to start Ethernet. If you use static IP, note: always callETH.begin()beforeETH.config(). One user notes “ETH.begin()must always be called beforeETH.config()because it needs to have an actual connection in order to be able to configure it”. Also allow a brief delay afterETH.begin(), since the hardware link takes a moment to come up. - Set hostname (optional): Inside the
ARDUINO_EVENT_ETH_STARTcase, set the device hostname before DHCP runs. The example sketch shows callingETH.setHostname("esp32-ethernet");under the ETH_START event. This ensures your device name is used when obtaining an IP. - Flag connection status: In the
ARDUINO_EVENT_ETH_GOT_IPhandler, you’ll usually set a flag likeeth_connected = trueand maybe print out the IP or MAC viaETH.localIP(). IfARDUINO_EVENT_ETH_DISCONNECTEDorLOST_IPfires, clear the flag. In yourloop(), you can check this flag to perform tasks only when connected (as in the example that callstestClient()every 10 seconds if connected). - Include the right libraries: Your sketch should
#include <ETH.h>(for Ethernet) and<WiFi.h>(which also manages events). Do not mix in the older ESP8266/Ethernet libraries – stick to Arduino-ESP32’s APIs.
By following these steps, your Arduino sketch will correctly respond to network changes. The example in the ESP32 docs shows exactly this pattern: define PHY pins, include <ETH.h>, register WiFi.onEvent, and call ETH.begin() in setup. This is the foundation before we apply our expert tips below.
5 Essential arduino_event_eth Tips
When working with arduino_event_eth, these tips can save you headaches and make your code rock-solid:
- Use the Right Event IDs: Always use the
ARDUINO_EVENT_ETH_*constants, not the olderSYSTEM_EVENT_ETH_*. The Arduino framework uses its own event enum (arduino_event_id_t), which differs from the ESP-IDF’ssystem_event_id_t. For example, if you see a compile error aboutSYSTEM_EVENT_ETH_STARTnot declared, switch toARDUINO_EVENT_ETH_STARTinstead. (On the Arduino-ESP32 core, event 18 isARDUINO_EVENT_ETH_START, 22 isARDUINO_EVENT_ETH_GOT_IP, etc..) Using the wrong event names is a common bug. - Initialize Hardware First: Define your PHY settings before including
<ETH.h>and callETH.begin()early insetup(). As noted, do#define ETH_PHY_TYPE ETH_PHY_LAN8720(or your PHY type) before#include <ETH.h>. Then callETH.begin()at the start ofsetup(). If using a static IP, only then callETH.config(). Forgetting these steps can lead to errors or no link. The Arduino forum advises “the board’s MAC address is always assigned the same IP via DHCP. Then just let the board connect via DHCP” rather than forcing a static IP incorrectly. - Set Hostname in Start Event: In the
ARDUINO_EVENT_ETH_STARTcase, set your device hostname before DHCP assigns an IP. For example:case ARDUINO_EVENT_ETH_START: Serial.println("ETH Started"); ETH.setHostname("my-arduino"); break;. Doing this inside the start event (running in a separate thread) ensures the name is ready before the network comes up. This trick lets you see a friendly name instead of just “esp32-ethernet”. - Use a Stable ESP32 Core Version: Ethernet support in Arduino-ESP32 has evolved. Some users report that the latest ESP32 Arduino core (v3.x) breaks Ethernet examples. One forum user solved compilation errors by using ESP32 Arduino core v2.0.17, noting that v3.0.0 “won’t work” for Ethernet events. If you hit mysterious build errors like “invalid conversion from int” or missing event declarations, try rolling back to an earlier core version (2.x series).
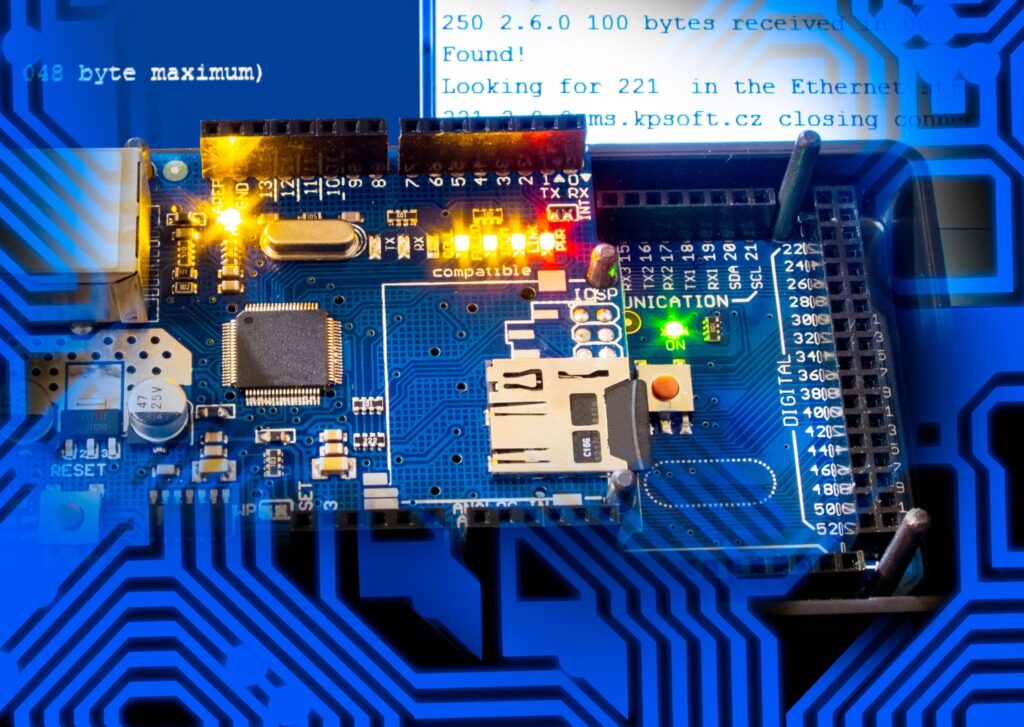
- Monitor and React to Events: Use flags and logs in each event for robust behavior. For instance, set
eth_connected = truewhen you getARDUINO_EVENT_ETH_GOT_IP, and clear it on disconnect or lost IP. Inloop(), only attempt network traffic (e.g. web requests) ifeth_connectedis true. UseSerial.println()in each event case during development so you can see when things happen. Also, handle retries: ifETH_DISCONNECTEDfires, you might tryETH.begin()again after a delay. Keeping clean state updates ensures your Arduino sketch smoothly recovers from network hiccups.
By applying these tips – correct event names, proper initialization, and attentive event handling – you’ll have a bulletproof Ethernet setup. Your IoT devices will stay connected and responsive, taking full advantage of wired networking.
FAQ
Q: What is arduino_event_eth in Arduino?
A: It refers to the Ethernet event constants in the Arduino-ESP32 library. These include ARDUINO_EVENT_ETH_START, ARDUINO_EVENT_ETH_CONNECTED, ARDUINO_EVENT_ETH_GOT_IP, etc. You use them in a WiFi event handler (WiFi.onEvent) to respond when the board’s Ethernet interface changes state (started, connected to network, got IP address, disconnected, etc.).
Q: How do I use arduino_event_eth in my code?
A: Include <ETH.h> and <WiFi.h> in your sketch. In setup(), call WiFi.onEvent(myHandler); where myHandler is a function you write that takes a WiFiEvent_t argument. Then use a switch statement inside myHandler with cases like ARDUINO_EVENT_ETH_GOT_IP and so on. Finally, call ETH.begin() in setup to initiate the Ethernet connection. Your handler will be called automatically on each event.
Q: Why does my sketch say ARDUINO_EVENT_ETH_START was not declared?
A: This error often means you have the wrong Arduino core version or you’re mixing event systems. First, ensure you’re using a supported ESP32 Arduino core (v2.x is recommended). Also make sure you have #include <ETH.h> and #include <WiFi.h> at the top of your code. Don’t try to use SYSTEM_EVENT_ETH_START – only use the ARDUINO_EVENT_ETH_* names with Arduino-ESP32.
Q: Which Arduino boards support arduino_event_eth?
A: These Ethernet events are available on ESP32-based boards that have an Ethernet interface (PHY). Examples include Olimex ESP32-POE, ESP32-EVB, WT32-ETH01, and LILYGO T-Internet-POE. Regular Arduino Uno/Mega use different Ethernet libraries (Wiznet W5100/etc.) that don’t use arduino_event_eth. For most classic Arduino boards, you would use the Ethernet library and polling or different callbacks instead.
Q: How can I troubleshoot Ethernet event issues?
A: First check your hardware connections (PHY wires or shield). Enable Serial.println in each event case to see what’s firing. Verify you defined the PHY parameters correctly before ETH.begin(). If you get no events at all, try adding a delay after ETH.begin(), as the link may take a moment. Also ensure you have the correct Arduino core (old versions sometimes break Ethernet, see tip 4). If DHCP isn’t working, try a static IP after connection, but remember to call ETH.begin() first.
Conclusion
The arduino_event_eth system lets your Arduino sketches elegantly handle wired Ethernet networking. By responding to ETH_START, ETH_CONNECTED, GOT_IP and other events, you make your IoT projects more robust and efficient. We covered how to set up Ethernet on ESP32 Arduinos and shared 5 pro tips (use the right events, init sequence, set hostname, etc.). With Ethernet’s speed and security advantages, your smart sensors and controllers will perform reliably.
Now it’s your turn: try these tips in your next Arduino IoT project. And if you found this guide helpful, please share it with fellow makers or leave a comment on your own experiences using arduino_event_eth. Happy networking!

Leave a Reply